This step-by-step guide shows you how to manually remove the Pluralinput Driver. You are only required to use this guide if the automatic removal via the DeviceSetup failed.
Step 1
Open the Windows Device Manager
- Hold down the Windows Logo Key and hit the R-key. This will open the Run-dialog:
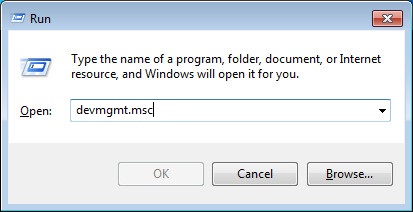
- Now type devmgmt.msc into the text area and click “OK”
- If a UAC dialog pops up, click continue
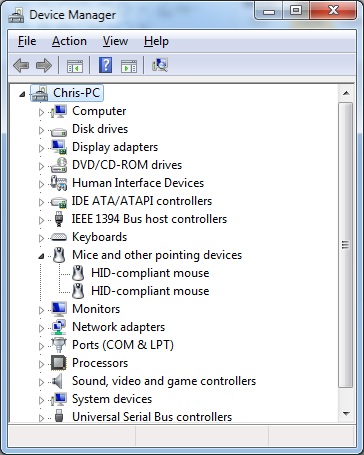
- You should see the Windows Device Manager window:
Step 2
Remove the driver:
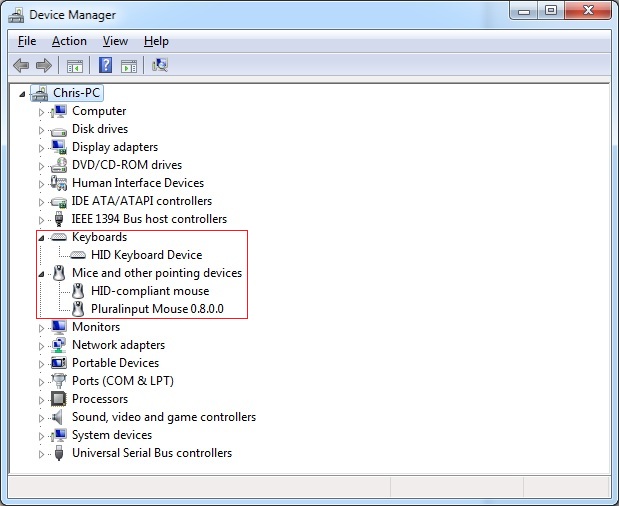
- Expand the Mice and other pointing devices and the Keyboards categories to see the attached mice and keyboards.
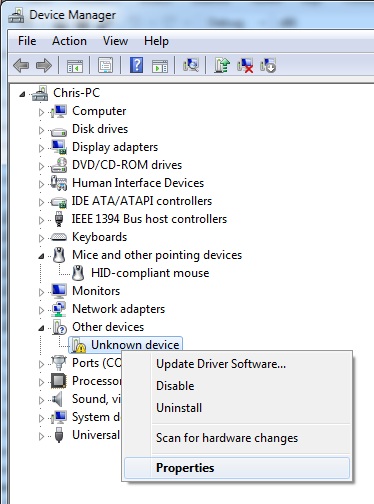
- (Optionally) If one of your input devices is currently unusable, locate the Other devices category and expand it as well:
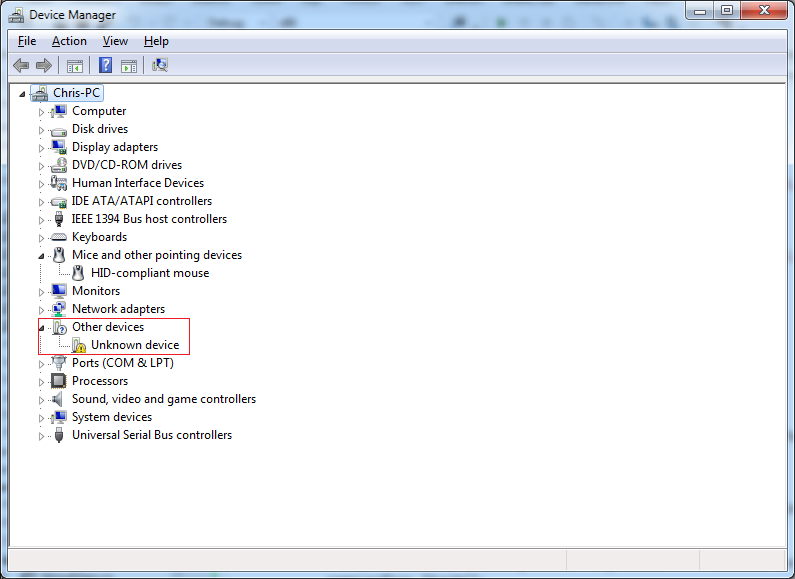
- To determine whether an Unknown device used to be a Pluralinput device, right-click on the item and select Properties:
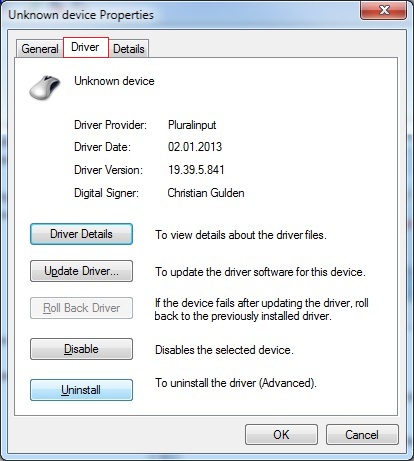
- This should open a dialog similiar to the following:

- If the Manufacturer is stated as Pluralinput, then it is indeed a malfunctioning Pluralinput device and you should remove its driver.
- In the Device Properties dialog, click on the Driver tab:
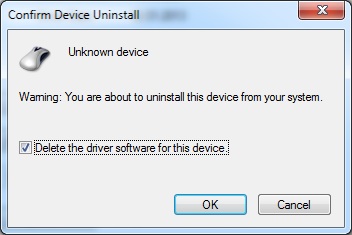
- Click the Uninstall button and make sure to check the Delete the driver software for this device box
Step 3
Reset the device to the default driver:
- Click on the Scan for harware changes button:
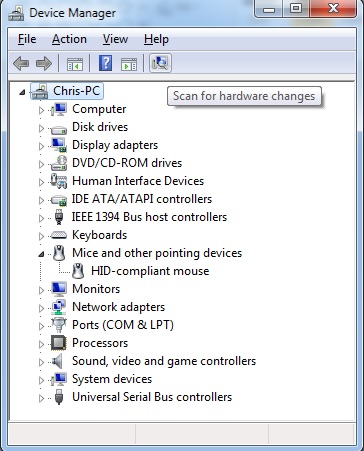
- This should reset the device from which you previously removed the Pluralinput driver.